
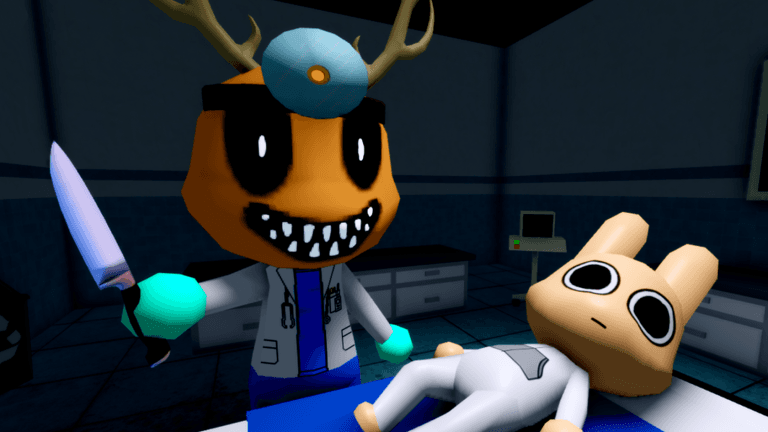
Ratthew is a recurring story NPC whose interaction chain ends with a key. That key opens a safe hidden behind the cat poster in Room 5, revealing a Rattina photo, a confidential box and clues connected to a Shadow experiment. The scene supports a mystery, but it does not confirm that Rattina became the Stalker or Shadow.
Character overview
Ratthew’s story is built around return visits. The player should complete each conversation, watch for his next appearance and confirm progression rather than expecting the entire chain in one meeting. The eventual key changes the interaction from dialogue to a hidden-location route.
His importance comes from the physical clues. The key and safe allow the player to inspect story objects directly. Player theories can interpret those objects, but the quest remains usable even when the final identity behind the mystery is unresolved.
Appearance timing conflict
Ratthew may begin as early as shifts 2–3 or appear around shifts 8–10. Updates, random timing or different ways of counting meetings can shift the range, so do not wait for one guaranteed number.
If he has not returned, continue ordinary hospital progression and check the Journal. A private server is not part of the interaction sequence.
Interaction timeline
- Meet
Begin the recurring dialogue
Complete Ratthew’s current conversation and note that the chain continues across later visits.
- Return
Advance each interaction
Follow the next prompt when Ratthew reappears instead of skipping ahead to Room 5.
- Collect
Pick up the key
After the final interaction, take the item he leaves before moving away.
- Unlock
Open the Room 5 safe
Remove the cat poster, use the key and inspect the story clues inside.
The interaction order matters more than the shift number. Completing the dialogue and collecting the dropped item are separate actions; leaving the key behind prevents the next step.
Between appearances, continue normal hospital responsibilities and use the Journal as a checkpoint. A quiet shift does not prove that the chain has failed, and another character event does not automatically replace Ratthew’s progress. Note the last completed interaction and whether the key has dropped.
Tracking progress between appearances
After each Ratthew meeting, check whether the Journal changed and note the last request or conversation completed. Continue the normal patient loop while waiting instead of camping in Room 5 or repeatedly searching for the safe. The poster route matters only after the chain leaves the key.
When Ratthew returns, finish the visible interaction before moving away and then inspect the area for the dropped item. In a team, announce who collected the key so only one player leaves for Room 5. These checkpoints reduce missed pickups without relying on a predicted shift number.
Room 5 safe route
Room 5 is in the Medical Wing. Once the key is collected, travel there and interact with the cat poster to expose the safe. The key belongs to this hidden story interaction, not to a random office or staff door.
The normal route does not require an out-of-bounds glitch or a secret code. If the poster does not respond, verify that the Ratthew chain completed and that the key is actually in the player’s possession. Follow the live prompt if an update changes the interaction wording.
The safe is not one of the specialized Emergency Wing treatment rooms. Room 6 is associated with X-Ray, Room 7 with the Heart Monitor and Room 8 with Surgery. Keeping those functions separate reduces wrong-door searches.
What the safe confirms
The safe contains a Rattina photo, a confidential container or box and Shadow-experiment clues. The scene connects those objects inside one hidden location, with Ratthew’s key as the access item.
The outcome is lore access, not a combat upgrade, class bonus or currency reward. Follow the chain for the hidden scene rather than power progression.
What remains theory
The most common theory is that Rattina became the Stalker or Shadow. Opening the safe completes Ratthew’s route but does not trigger a Stalker response or a Shadow encounter. Handle the Stalker through its own survival mechanic instead of using that enemy as the answer to the safe scene.
Similarly, the safe does not provide a complete experiment timeline or settle every Animal Corporation connection. Liz’s investigation adds another set of clues, but combining two mysteries does not automatically establish one canon explanation.
The Stalker’s known warning and avoidance mechanics also stand independently of its identity. Players can survive the encounter by lowering the camera and avoiding the face without deciding who the creature once was. Practical guidance should not depend on an unresolved theory.
When explaining the mystery, start with the object, dialogue or Journal entry. Label the conclusion as theory when the game stops short.
If new dialogue explicitly names the experiment outcome, the theory can change at that point. Until then, the ambiguity belongs to the story and does not need a forced answer.
Quest facts to remember
- Ratthew appears more than once.
- His completed chain leaves a key that must be collected.
- The key is used behind the Room 5 cat poster.
- The safe contains a Rattina photo and experiment-related story evidence.
- The unlock is not a combat or stat reward.
- First-appearance timing varies between runs and versions.
These facts preserve what a player can act on while keeping the timing and lore conflicts visible.
Common mistakes
- Do not leave before collecting the key.
- Do not search random staff doors after obtaining it.
- Do not expect a class perk or weapon from the safe.
- Do not call one shift range guaranteed.
- Use the Room 5 route for the hidden scene, not as proof of Rattina’s final identity.
If the chain appears stalled, inspect the last Journal state and continue normal shifts.
Frequently asked questions
When does Ratthew appear?
Do not wait for one fixed shift number. Follow Ratthew’s interaction progress and check the Journal between appearances.
Where does Ratthew’s key go?
To the safe behind the cat poster in Room 5.
Is Rattina the Stalker?
That remains a theory. The hidden scene does not directly confirm that identity.